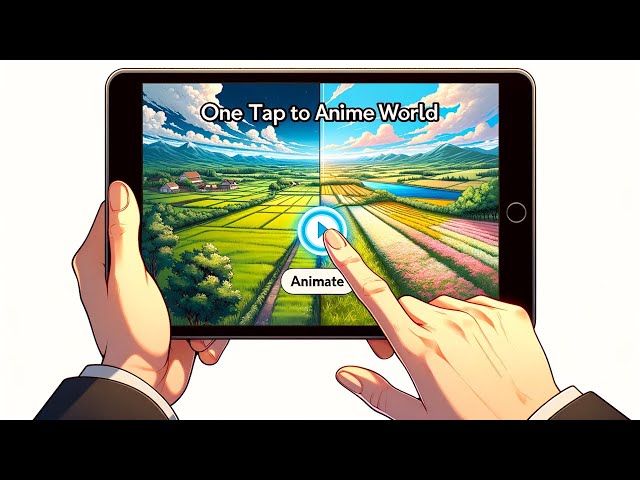
Turn Videos Into Animation With Just 1 Click ReRender A Video Tutorial Installer For Windows
Full tutorial link > https://www.youtube.com/watch?v=a8oeCFyM5gA


In this video I share automatic Windows installer for ReRender A Video github repository - open source AI project. The auto installer script is here : https://www.patreon.com/posts/1-click-auto-for-89457537
Auto script is here
https://www.patreon.com/posts/1-click-auto-for-89457537
Official repo is here
https://github.com/williamyang1991/Rerender_A_Video
SECourses Discord To Get Full Support
https://discord.com/servers/software-engineering-courses-secourses-772774097734074388
My LinkedIn
https://www.linkedin.com/in/furkangozukara/
My Instagram
https://www.instagram.com/gozukarafurkan/
My Medium
@FurkanGozukara https://medium.com/@furkangozukara
My CivitAI
https://civitai.com/user/SECourses
-
00:00:00 In this video, I'm going to show you how to use automatic installer for ReRender A Video. If you
-
00:00:07 don't know what is ReRender A Video, it allows you to turn video into animation or anything that you
-
00:00:14 wish like this you are seeing right now. I have turned the Larry Wheels clip into this anime
-
00:00:19 version. It is very, very coherent and amazing. So let's download all_files.zip file. Let's cut
-
00:00:28 it and go to our drive, make a new folder, make its name. Do not have any spaces, do not have any
-
00:00:36 space character or special character. So let's say rerender_test, something like this. You see,
-
00:00:44 I don't have any special character or I don't have any space character. Right click extract.
-
00:00:50 I am using Winrar, but you can use anything else. So it has all the files. You just
-
00:00:55 need to install with large VRAM or low VRAM. Large VRAM will install latest Torch version,
-
00:01:04 therefore it will be faster, but it will use more VRAM. OK, you just need to just wait right now.
-
00:01:12 Nothing else. It will do everything for you. So the installation has been completed as you are
-
00:01:17 seeing right now. Let's hit something and close it. Then what we need to do is we will just run
-
00:01:24 run.bat file. Just wait and it has started. Let's open the URL. This is the URL. And let's select a
-
00:01:35 video for testing. OK, here, let's see. I have Larry Wheel testing here. OK. Posing. Yeah,
-
00:01:49 this will be this will be input video. So you need to define your prompt. And one of the most
-
00:01:56 crucial thing is you need to describe that clip. So if you have very different clips, then you need
-
00:02:03 to split your clips and generate each one of them separately. A muscular man is posing in
-
00:02:11 a gym. This is defining this clip. Let me show you. You see he is posing here. Not much else as
-
00:02:20 you are seeing right now. OK. So before running all frames, make sure that you have first output
-
00:02:30 frame. So there are a lot of settings. I am still experimenting, but default settings are really,
-
00:02:35 really good. You can improve frame resolution up to 704 because it's a HD video, not full HD. So I
-
00:02:46 will make this 704 this will have dramatic effect on your output. And other than that, I use Canny,
-
00:02:54 Canny low threshold 25 Canny high threshold 50 and the base model that you select, this will
-
00:03:01 have huge effect on you. So let's make this a 2D anime merge. These are automatically downloaded.
-
00:03:09 And one more thing, extremely important number of parallel processes. If you don't have 24 gigabyte,
-
00:03:16 make this one. If you have 24 gigabyte VRAM, make this 2. Don't make this 3. It will use shared
-
00:03:24 VRAM. You will have a lot of issues. So make this one. This is super important. And other than that,
-
00:03:31 you don't need to actually make too much changes. Just change your prompt and seed until you get
-
00:03:38 your desired output. So it is going to load everything and it will process first frame for
-
00:03:46 us. Let's just wait. So it is loading all of the files. You see with one click it is all installed.
-
00:03:54 The models are downloaded and everything is set. But if you want to have more models,
-
00:04:00 you need to download them into models folder here. Then you need to edit configuration py file and
-
00:04:07 restart the app. The configuration py file is here. Let's open it. So you need to add them
-
00:04:13 here. So they will be in the drop down menu. This is how you add more models. Okay, it is almost
-
00:04:21 done. Let's see the output. So this is the output. This is not the best. So I will change the seed.
-
00:04:28 You can also add some more prompts such as anime hero. Okay, let's try one more time. This time
-
00:04:36 it should be faster because it has cached some of the other things. Okay, yes, it is being faster.
-
00:04:44 I hope they improve the speed because the speed is not very good. The speed can be faster. So it
-
00:04:52 is using about like 9 gigabytes VRAM probably GPU utilization is like this as you are seeing right
-
00:04:59 now. I am also recording a video therefore it is also doing video encode. Okay, another one. So you
-
00:05:08 can play with different seeding and you can play with ControlNet strength, denoising strength and
-
00:05:16 other things and always get your first frame after that hit run all and then you need to patiently
-
00:05:24 wait but there is one more thing. I suggest you to edit video blend.py file and make this True.
-
00:05:32 So you will have much better output results, printed messages in this screen it will make
-
00:05:39 your life easier believe me so make this True. OPEN_EBSYNTH_LOG True. So once everything has
-
00:05:47 been completed you will get an output video here I didn't wait it I just cancelled it and the video
-
00:05:53 will be also saved inside result folder, inside with the video name you had used you see posing
-
00:06:01 we had used it and in here you will have blend.mp4 file. You see currently it was extracting keys.
-
00:06:10 But I cancelled it so you will have blend.mp4 file here it will be the final output result.