1c. Getting started: Local Environment
This is a good option if you have access to a reasonably powerful computer or laptop. Using the local environment you don't need to worry about limited credits in Azure or running up a bill if your credits are exhausted.
There are many ways to set up your local environment for the challenge, but this tutorial will document how to do this through Anaconda on Windows.
You will need:
- If you are using git you can clone the repository by using the command git clone.
It is suggested that you git clone the repository under your user’s folder. For instance, if the current user was ‘my_user’ the repository could be cloned to a location such as the following:
C:\Users\my_user\git_clone\under\this\folder
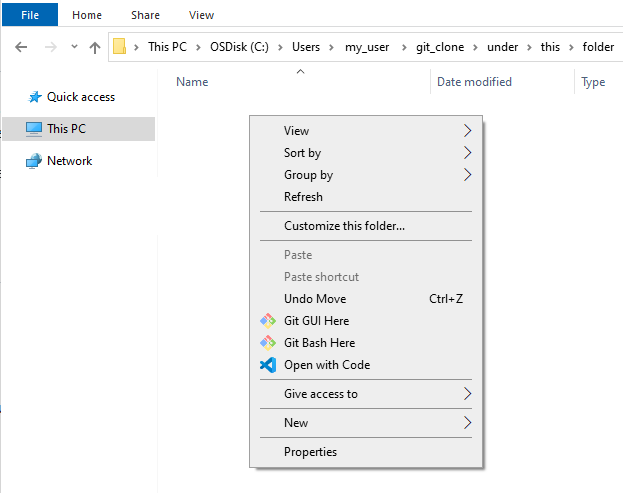
To do this in Windows Explorer, navigate to the folder, right mouse button, and click on ‘Git Bash Here’ from within the context menu. This will launch a Git Bash terminal window.
- In the Git Bash terminal run:
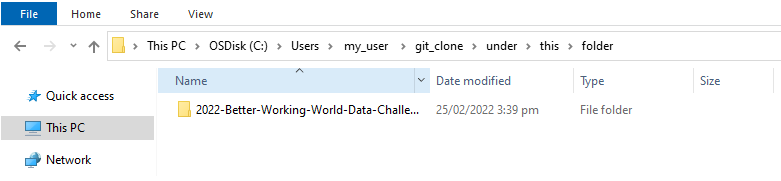
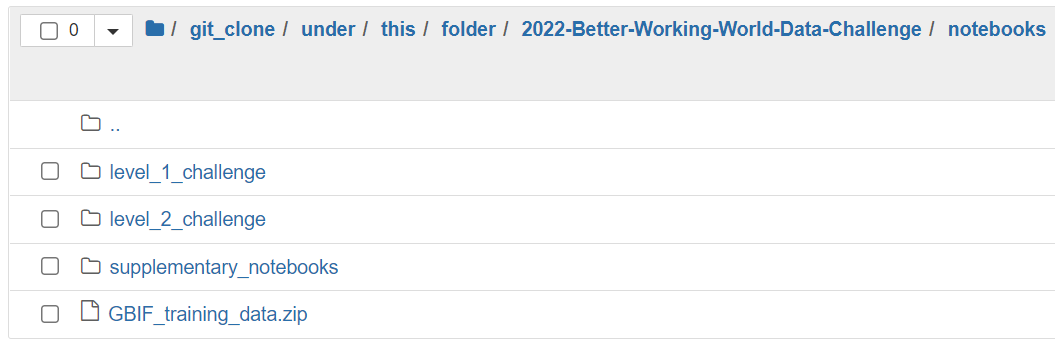
git clone https://github.com/EY-Data-Science-Program/2022-Better-Working-World-Data-Challenge.gitIf successful your folder will end up containing the folder ‘2022-Better-Working-World-Data-Challenge’ as shown below:
Once done you can close Git Bash.
Alternatively to the instructions so far under Step 1, you can download a zipped file (from here), and then extract all the contents. This will give you the code repository, but without any of the version management features that Git provides.
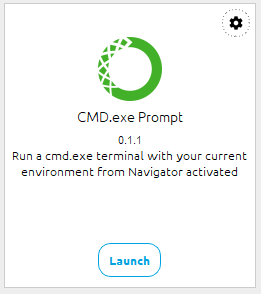
- Once Anaconda is installed, open Anaconda and launch ‘CMD.exe Prompt’
- Navigate to the folder containing the repository cloned/downloaded in Step 1 by entering the command, replacing the path with your specific folder path:
cd C:\Users\my_user\git_clone\under\this\folder\2022-Better-Working-World-Data-Challenge
- Some of the packages required for the challenge will need to be installed from conda-forge. It can help to add conda-forge to the conda default channels through the following command:
conda config --append channels conda-forge- To create a new virtual environment (which we will call "2022DSC") with the correct versions of the dependencies, use the 'environment.yml' file in the repo through the following command:
conda env create -n 2022DSC --file ./notebooks/environment.ymlwhere './notebooks/environment.yml' is the path to the environment.yml file.
Alternatively, you can install the packages manually using the command below, however conda might take a while to solve for the dependencies between these packages. This method is not recommended.
conda install contextily xarray zarr aiohttp requests pystac pystac-client planetary-computer nb_conda_kernels scikit-learn fsspec shapely GDAL=3.2 rioxarray stackstac xarray-spatial- Close the ‘CMD.exe Prompt’ window.
- In Anaconda Navigator select the newly created environment from the ‘Applications on’ dropdown:

Note: If you encounter any issues with dependencies, please refer to this discussion post. Reply with any issues that the post does not address and we will do our best to attend to them.
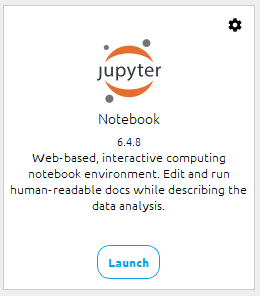
Finally, we need to run a Jupyter notebook from within the same virtual environment we created above. To do this open Anaconda (make sure you are in the correct virtual environment) and launch Jupyter by clicking on the respective Launch button.
Jupyter will launch in your default browser. On the landing page you will be presented with a list of folders found under your user’s folder.
Navigate to the notebooks folder which can be found under the folder where you git cloned the repository. In the example above the path would be the following:
Open the level_1_challenge folder, and click on the challenge_1_benchmark.ipynb notebook. This will open the notebook and you can start running the code.
